I was planning on brewing this past Saturday, but it never happened. I used the weekend to put a new paving stone sidewalk from my back porch to the alley instead. It looks awesome, but it didn’t produce any beer. I do hope that it will make for a flatter surface for brewing in the future.
Anyway, I made a starter last Thursday for the beer that didn’t happen and took some pictures. I think I’ll use it this weekend.
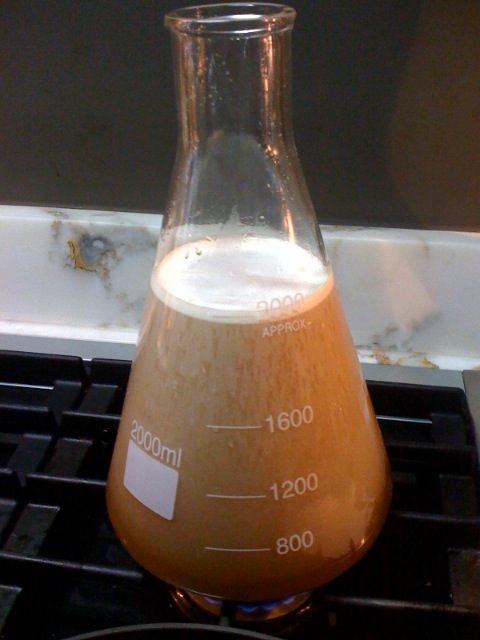
I always make a 2L starter for my 5 gallon batches. Making starters was one of my early brewing improvements, and I think it has really improved the quality of my beer. I know lots of people use the yeast pitching rate calculator on www.mrmalty.com to calculate pitching rates (thanks Jamil from all of us for everything), but I just figure that a 2L starter is always going to be adequate for a 5 gallon batch. Maybe I’ll get more specific about my yeast counts in the future, but this works really well for me now.
First I take my yeast out of the fridge to warm up to room temperature. If it’s a Wyeast smack pack, I activate it. I then mix 2 cups of extra light DME with 1800 mL of water in a mixing bowl. No need to sanitize since everything is going to get boiled. DME has a tendency to clump up when it gets wet, so I use a whisk to break up any clumps and get the DME well dissolved. I’ve got some more stirring to do in this picture as you can see some DME clumps near the whisk. I also add some yeast nutrient according the manufacturer’s instructions.

I used to try to mix DME into the water in my 2L Erlenmeyer flask directly, but it’s nearly impossible with all the clumping. Adding the DME on top of the water creates a plug in the neck of the flask and adding the water on top of the DME leaves a cake stuck to the bottom of the flask that eventually burns when you try to boil it. I gave up on mixing in the flask pretty quickly.
When the DME is well dissolved, I pour the wort into the flask, add 1 or 2 drops of foam control, and stick it on the stove over medium heat. I boil the starter for 15 minutes. Foam control helps prevent boil over, which is extremely easy to have occur with the narrow neck of the Erlenmeyer flask. I used to have boil overs all the time when I made starters. It makes a huge sticky mess on the stove that is a pain to clean up. The starter for the milk stout I recently brewed was my first starter using foam control. I still had boil over problems. The foam control keeps the wort from foaming up, but it doesn’t prevent large bubbles from forcing hot wort out the top of the flask. The trick for me was to keep the stove on medium heat until the starter is about to boil, then turning down the heat to low for a 15 minute boil. You could also just leave the starter on low heat and wait for it to boil, but it takes forever and I like to tempt fate.
After the 15 minute boil I cover the top of the flask with a piece of foil while wearing an oven mitt. I take the flask to the kitchen sink for a cooling bath to bring the wort down to pitching temperature. To conserve ice, I first run cold water over the side of the flask, then move it to a bath of swirling cool water, and finally to a bath of swirling ice water. I’m always amazed that the flask doesn’t break from the temperature shock, but that is what it is made to do.

Once the starter is down to pitching temperature, I add the yeast and move the starter to my fermentation location. I always ferment my starters at the same temperature as I will ferment the beer for which it is intended.
After active fermentation subsides, I move the flask to the refrigerator. The yeast will drop to the bottom of the flask and form a nice solid yeast cake. When it’s time to brew, I decant off the liquid on top of the yeast and pitch only the yeast cake into the wort.
